Featured Post

So Fresh and so Clean: DIY Daily Brush Cleaner!

Let's talk makeup brushes: they are a necessity for an expertly applied face, but they can be a PITA to keep clean! Cleaning your brushe...

Showing posts with label Drugstore. Show all posts

Sunday, January 4, 2015

Cover Girl Ready Set Gorgeous Foundation Review and Application Routine

Hi Lovelies!

While perusing the aisles of CVS looking for a quick and easy everyday foundation, my eye landed upon CoverGirl Ready Set Gorgeous Foundation. It fit all my needs: oil free, shine controlling, easy-to-use packaging, they had my color match, and it was a fantastic price. It runs for $8.99 at my local CVS, but I had $5 in extra bucks, so I only paid $4 - what a deal!


I have to tell you, the first couple of times I used this product I was just. not. impressed. I was deeply disappointed because I had heard such awesome things about it , such as it almost completely covers imperfections, it controls shine for hours, and it stays put all day. Why wasn't it working for me??? Now here's where I confess that the first time I tried CoverGirl Ready Set Gorgeous Foundation was when I was on a cruise to Bermuda... I did not bring my trusty Beauty Blender,  nor did I bring my coveted Sigma F80 Flat Kabuki. Nope. I brought a disposable wedge sponge in the hopes of paring down my makeup kit. Big mistake. Huge! Not only was I trying a foundation for the first time while abroad, but I didn't even bring the proper tools!  What was I thinnnkkking??


I've heard it said that this foundation is so easy to use that it can be applied with your fingers, but seriously, I am not a finger-application kind of girl. I never get even coverage, my foundation always ends up streaky - it's a hot mess. Which is why I brought along the wedge sponge, thinking it would do the job. It did not. Luckily I did bring my favorite BB cream, and I was able to use that for the trip. Crisis averted.

Now, you may be wondering how CoverGirl Ready Set Gorgeous Foundation came to be a part of my regular foundation routine, since I had such bad luck with it on my trip. I'll tell you - it's all in the application! When I returned home,  decided to give the foundation another chance, because how can so many beauty gurus be wrong? I'm so happy I did! First I tried it with my Beauty Blender, then my Sigma F80, and it was a success both times! This just proves to me that the right tools can make or break a product. Since then, I cannot put CoverGirl Ready Set Gorgeous Foundation down! It has become my go-to every day foundation, and I love it!

Despite all the rave reviews, there are a few things I've discovered while using CoverGirl Ready Set Gorgeous Foundation: I find that it blends well, provides light to medium coverage and can be layered easily; however, while the coverage is good, it does not completely mask imperfections - concealer is needed to tackle any pesky spots. Many reviews I have seen say that this foundation eliminates the need for touch ups on oily skin, but I completely disagree. While it does keep oil at bay longer than many foundations I have tried, I still need to blot within 3-4 hours of wear. Also, this does not last all day on me. When I use this, I set it with powder and setting spray to give it extra staying power; this application process helps me get a good 6 hours of wear time, but when I need long-wearing, full day coverage I still reach for my Estee Lauder Double Wear.

The only other downfall is that it has a pretty limited color selection - 12 shades ranging from 105 Classic Ivory to 320 Soft Sable. While there is a nice mix of cool and warm tones, you may have to get creative and combine two colors to get your perfect match. I have been using the shade 115 Buff Beige, which is perfect for right now, but as I grow paler I  will have to drop down a level or two. Shade 110 Creamy Natural seems to be on the pink side, so I will most likely end up mixing Shade 105 Classic Ivory with the 115 Buff beige to achieve the correct color for my skin tone.

Now on to the fun part - pictures of me applying makeup - lucky you!

I start by applying a primer to  a freshly washed and moisturized face. Today I used Too Faced Primed and Poreless, which I use sparingly and apply by patting it onto my most oily areas (forehead, nose and chin).


Next I squeeze out a dime-sized amount of CoverGirl Ready Set Gorgeous Foundation onto my finger, and dab it all over my face and upper neck area, with the most product in the center of my face.

I then take my Sigma F80 Flat Kabuki and start to stipple it all over my face, spreading out the foundation so that there is more product in the center (where I need more coverage), and less toward the perimeter.

Once my face and neck are covered, I then buff the product into my skin to get a seamless, airbrushed look. I pay special attention to blending out the edges so there are no harsh lines, especially around my jaw and my ears/ hairline. I actually bring the foundation down my neck, working it in until the transistion from foundation to bare skin is unnoticeable.


Following my foundation, I spot correct any areas that might need extra coverage,  and make sure there are no obvious lines of demarcation.


From there, I apply my under eye corrector (check out my Undereye Concealer Routine)  and blend it out with the E.L.F. Flawless Concealer Brush. This helps cover up the dark circles on the inner corners of my eyes.


I then apply a brightening concealer anywhere I want to add light - mainly underneath my eye area, the bridge of my nose, the center of my forehead and my cupids bow. I blend out the concealer with the Sigma F86 Tapered Kabuki, which really blends nicely around the contours of the eye.


Lastly, I apply setting powder with a large, soft puff, pressing the powder into my skin, not swiping it. Pressing or rolling the powder helps keep oil at bay longer, and creates a smooth, lasting finish.


 And there you have, my completed foundation/ concealer routine for quick, everyday makeup :)


From here, I go on to contour, highlight, apply blush etc., which really adds life back into my face. I actually look creepy with just foundation and concealer, lol... if you are interested in seeing my contour/highlight routine, let me know :)

Have you tried the CoverGirl Ready Set Gorgeous Foundation? If so, what is your take on it?

Thanks so much for reading - live a beautiful life!

~Jessica


Thursday, December 4, 2014

Adore or Ignore: Rimmel Wonder'Lash Mascara

Hi Lovelies -

The other day I was at my local pharmacy looking for some new products to test out. " I spy with my little eye... a new mascara on the top shelf!". And so it was, and it came home with me so that I could try it out and give you, my lovely readers, my very humble opinion.


I present to you:   Rimmel London Wonder'Lash Mascara with Argan Oil


While I can't seem to locate it on the US Rimmel website, Wonder'Lash can be purchased at CVS, in-store or online. It has been out in the UK for awhile (it is known as Wonder'Full across the pond - catchy name!), but is just now beginning to grace our shelves here in the US. On the packaging, it claims to add feather-light volume and definition without clumping, and, because it is formulated with Argan oil, it conditions lashes, leaving them soft and flexible.


The Rimmel London Wonder'Lash has a flexible wand topped with a rubber bristled brush. The formula seems to be of medium thickness, and to me there is  no detectable scent. The packaging is sleek and easy to handle.

I am extremely picky when it comes to mascara. I know what I like, and that's that. I typically dislike rubber or comb-like brushes, and usually opt for the traditional brush. I also do not like flexible wands - sometimes I blink my lashes onto the brush to build up coverage, but a flexible wand makes that hard to do. However, I was rather surprised to find myself liking the brush from the Wonder'Lash mascara! It has both rubber bristles and a flexible wand, however, the bristles still coat my lashes well, and the wand is not so flexible that it bounces around when I bat my lashes onto the wand, flinging globs of mascara everywhere.

Rubber bristles

Flexible wand

Easy to maneuver wand handle
I also am very particular with the consistency of the mascara itself; I cannot stand when a formula is too wet or thin, as it transfers easily and can make a big mess. On the other hand, too dry a formula is hard to apply and layer. Call me Goldilocks - I like my mascara formula to be juuussst right ... the mascara sweet spot, if you will.  I am happy to say that Wonder'Lash fits within my parameters for the correct mascara formulation; it is not so thin and wet on my lashes that I have transfer as soon as I am done applying, yet it is not thick and clumpy either. It is a nice medium consistency that layers well, yet gives you plenty of coverage if all you have time for is one quick coat.


After applying 2 coats of Wonder'Lash


I applied two coats of Wonder'Lash in Extreme Black. I found that it applies evenly, lengthens and thickens. There was minimal smudging and transfer, and throughout the day I did not notice any flaking. Also, just to test out the claims that the mascara is "soft and flexible", I ran a clean finger across my lashes, and they were indeed soft and flexible - no stiffness here! 


Rimmel London Wonder'Lash is on the pricier side for a drugstore mascara ($9.99 at my local CVS), however the display had a $1 off manufacturer's coupon, and I was able to use some CVS coupons and extra bucks, so I was able to snag it for a fair price.

Overall I have to say that I am pleased with the performance of Wonder'Lash; I do not tend to like many drugstore mascaras, and always hold my breath when trying a new one, but I was able to exhale once I tried Wonder'Lash! Therefore, it is with great pleasure that I inform you of my final verdict:

ADORE!

Have you tried Wonder'Lash? What are your thoughts? Do you have a favorite drugstore mascara?

Until next time, live a beautiful life!

~Jessica

Friday, October 3, 2014

Lip Love: Not so Nude

The '90s called, and they want their lipcolor back...

A big trend right now is '90s inspired lips: shades of brown, a la Friends-era Jennifer Aniston:


Sourced from Pinterest
While a nice escape from the bright lip colors that we have been seeing as of late, the brown lip can be a little harsh and intimidating if not applied correctly. To keep things fresh and modern, think rosy-brown or beige-toned nudes - AKA, "Kylie Jenner Lips".

Instagram: @kyliejenner

Kylie overdraws her lips, making them appear fuller and more prominent. It is rumored that she uses MAC Lip Pencil in the shade Whirl,  with a mix of MAC Lipstick in Brave and  MAC Lipglass in Viva Glam V  on top. Whatever combo she uses, it looks beautiful, and it's making me want some not-so-nude '90s lips STAT!

Instagram: @kyliejenner

This look is easy to achieve, with only two simple steps:

1. Using a natural colored lip pencil, line your lips just outside of the natural lip-line. The key here is to SLIGHTLY go outside of your natural lip - you don't want too look like you went overboard on the Juvederm!
Really, too much??   Source
2. Next, you want to fill your lips in with a matte nude lipstick. And Voila - pouty, 90's inspired Kylie Jenner lips of your very own!


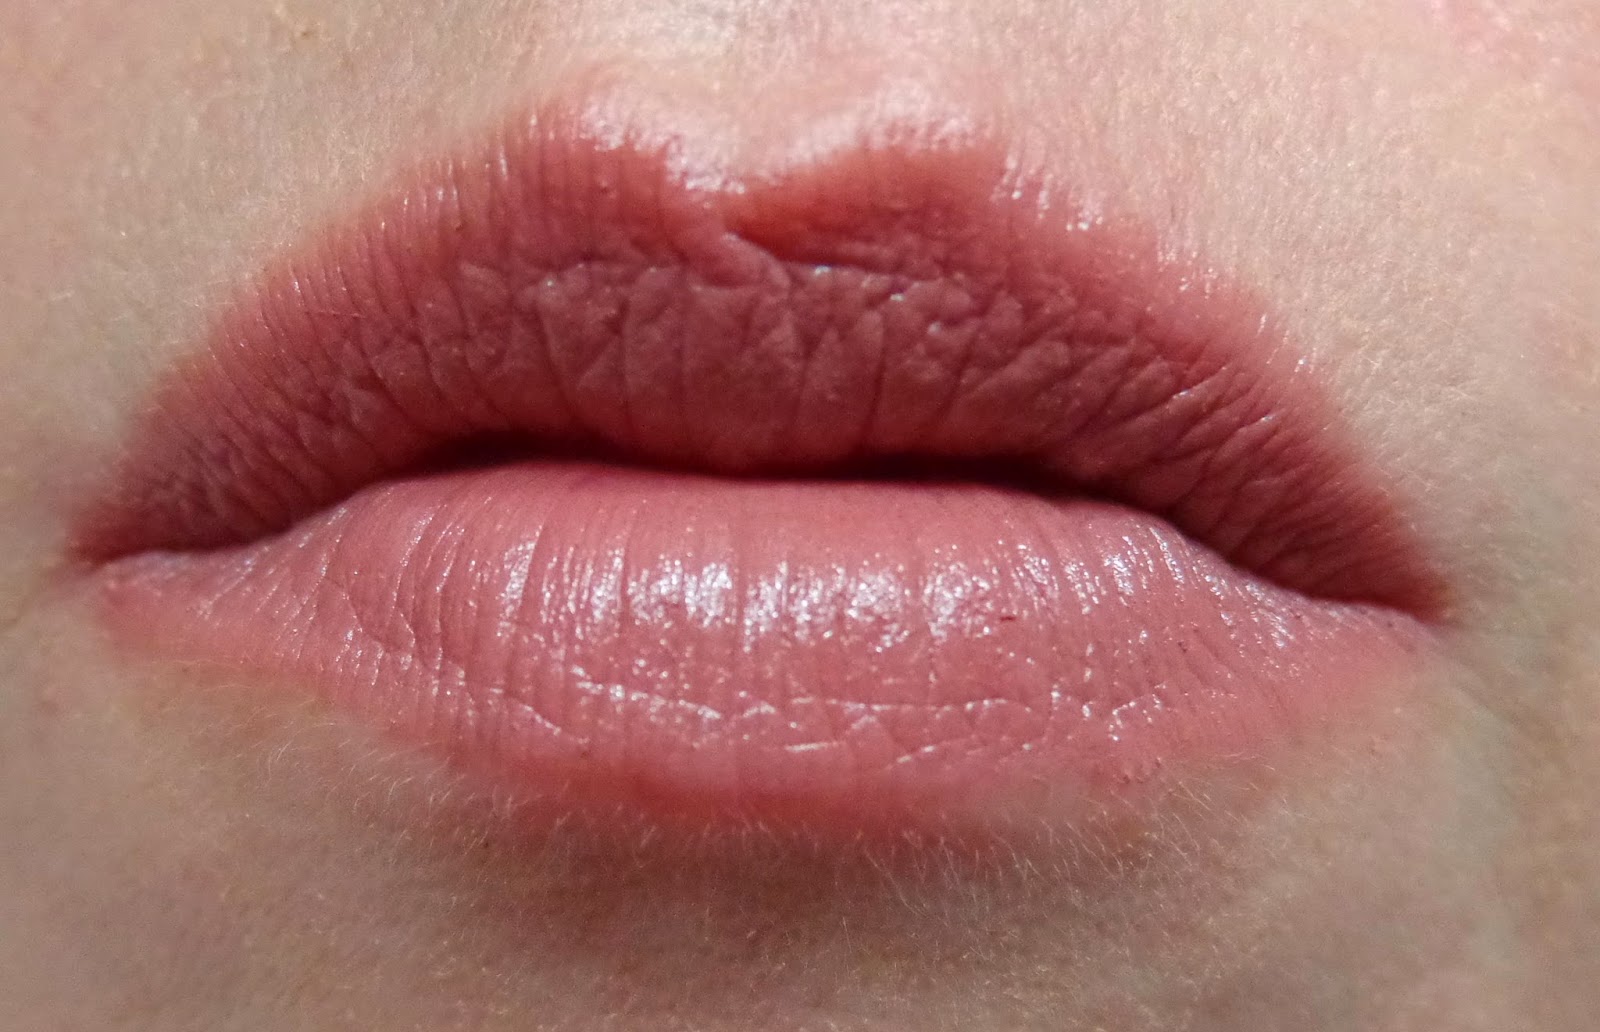
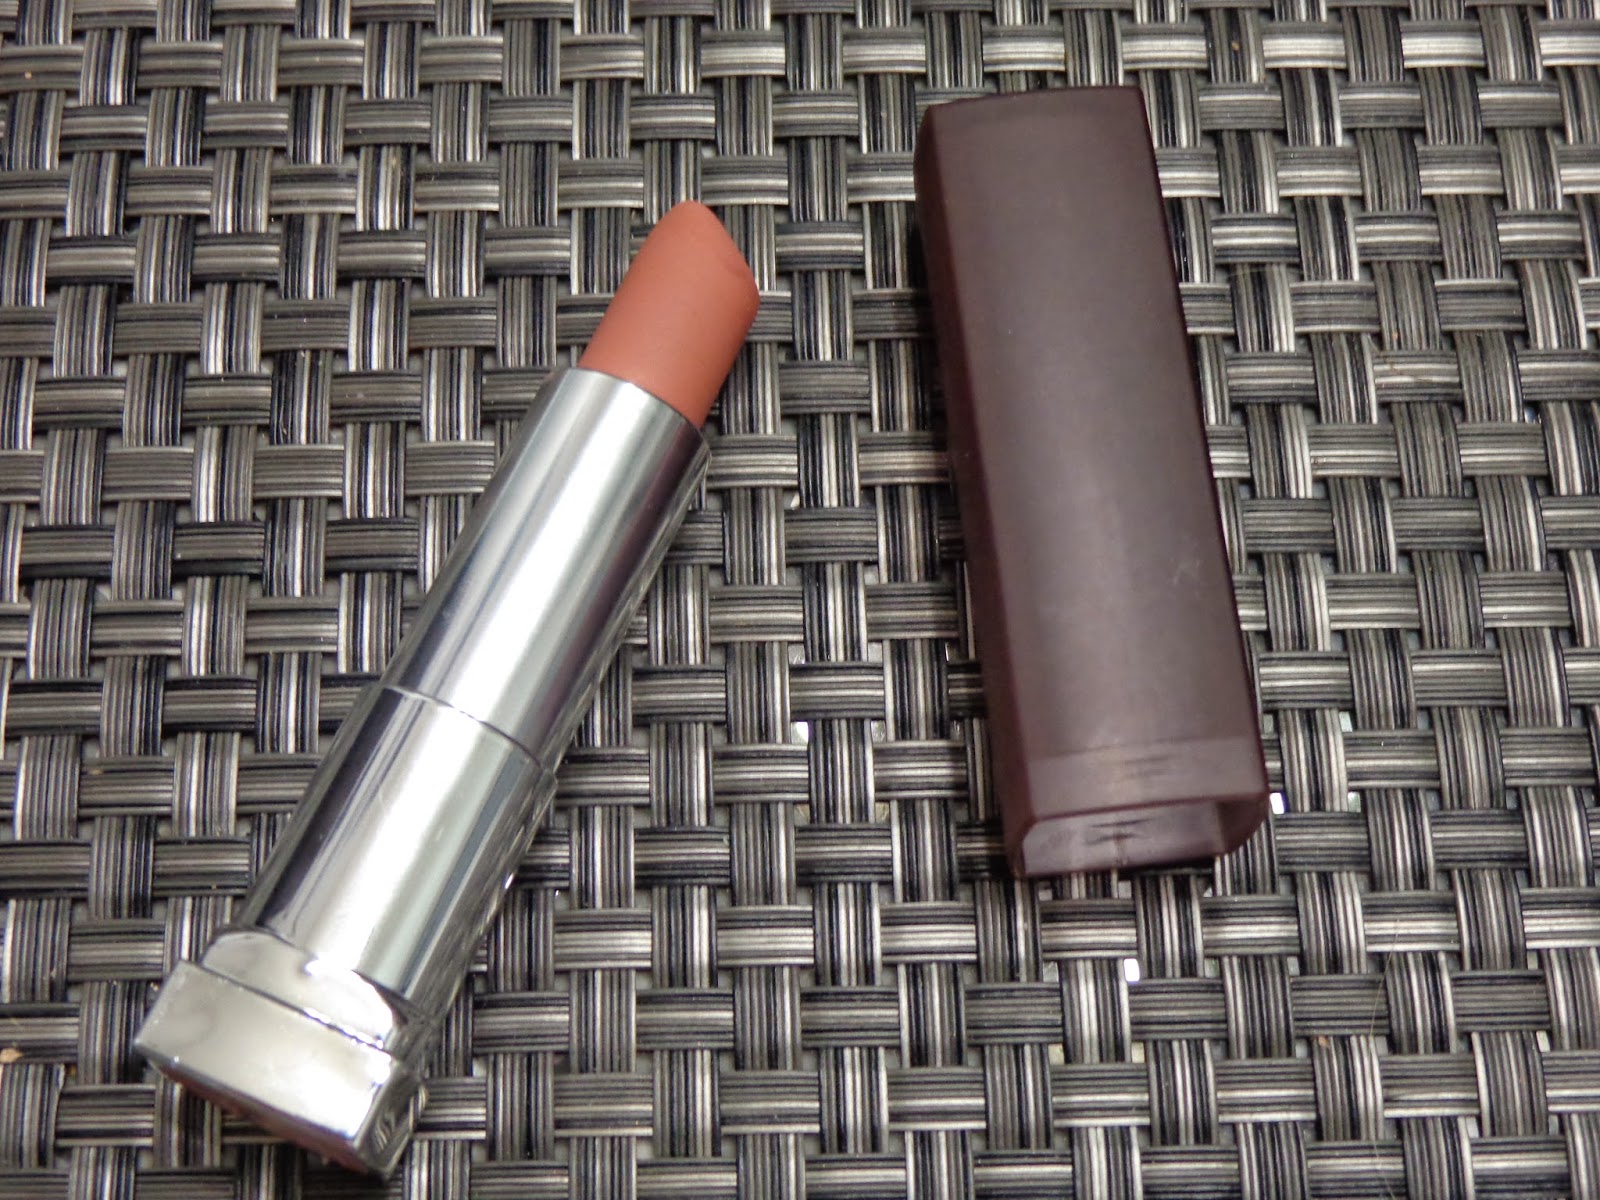
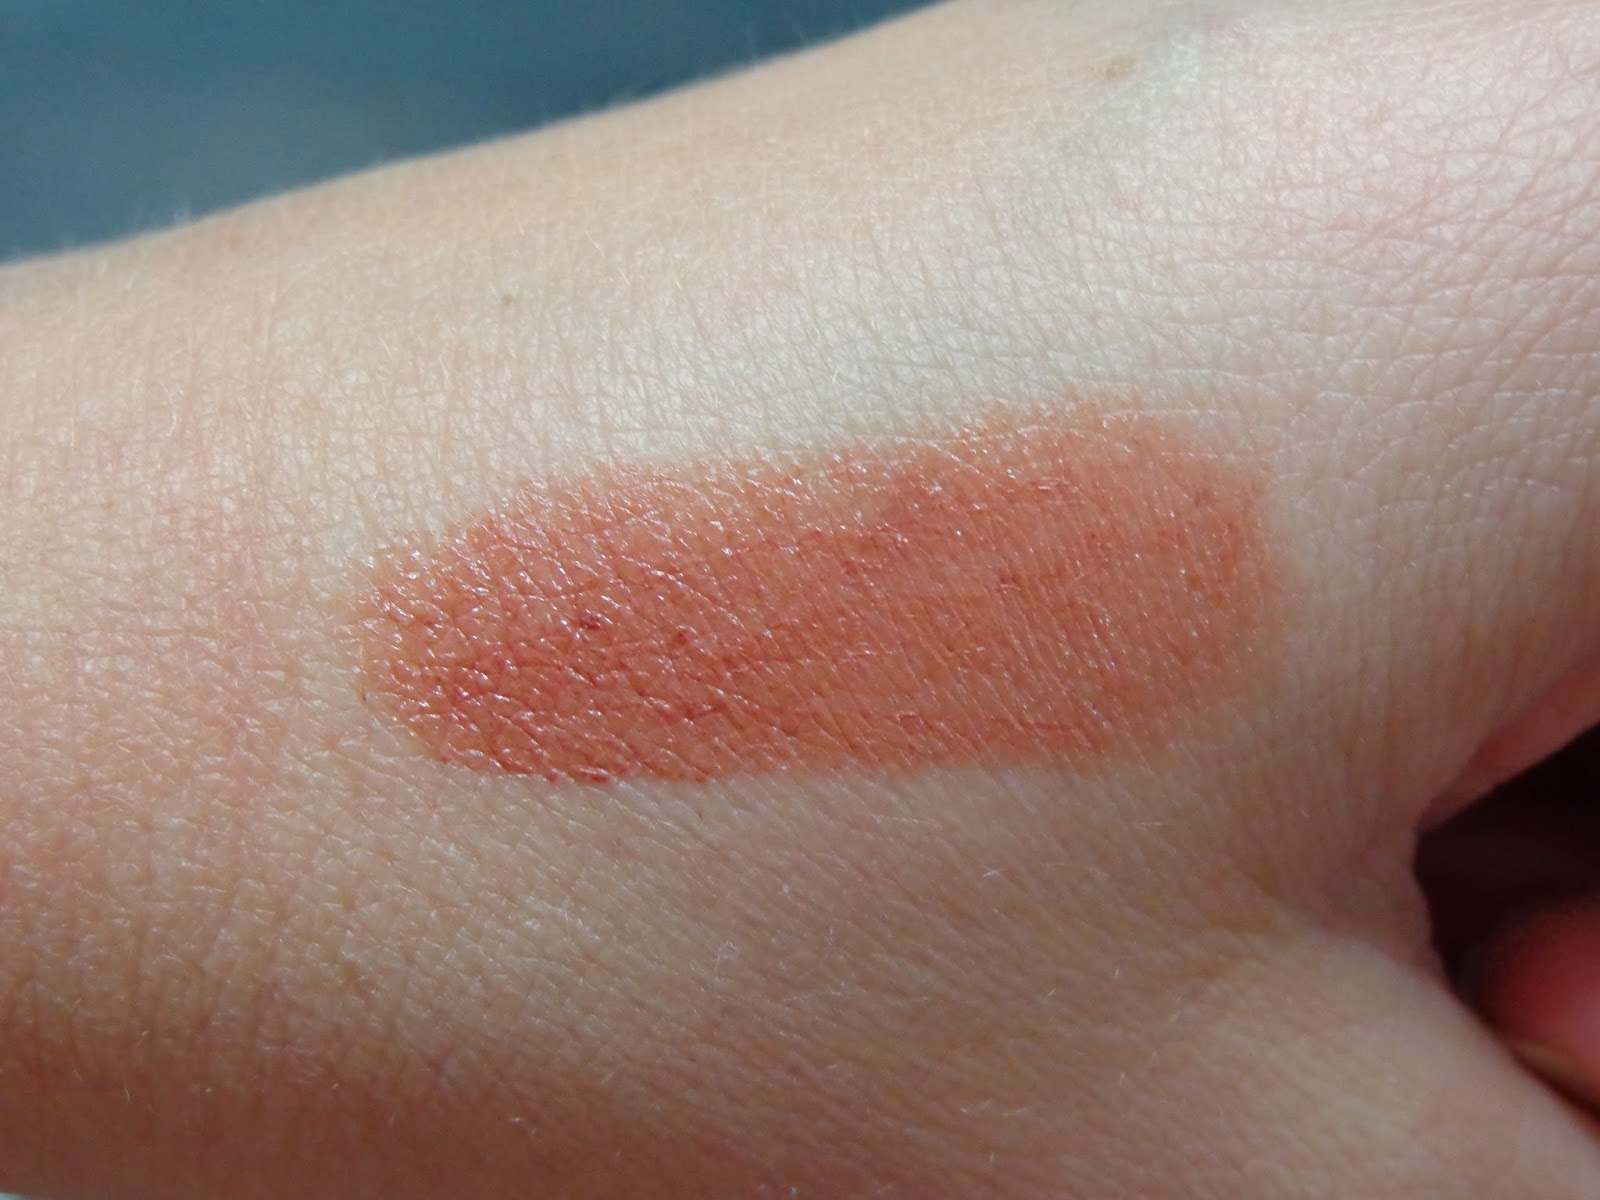
For this look, I used Sephora Nano Lip Liner in Queen Quartz, with Maybelline Color Sensational Creamy Matte Lipstick in Daringly Nude on top, resulting in a pretty pink-nude lip color. 

Sephora Lip Liner in Queen Quartz and Maybelline Lipstick in Daringly Nude

For a little bit deeper nude look, I lightly lined and filled in my lips with NYC Automatic Lip Liner in Naughty Nude (this color can become quite dark if you apply more pressure, so you can achieve many different looks with one liner), and then layered New York Color Expert Last Lipstick in Creamy Caramel on top.

NYC Lip Pencil in Naughty Nude - top is light pressure, bottom is medium pressure


NYC Lip Liner in Naughty Nude and NYC Lipstick in Creamy Caramel


 If you have naturally pigmented lips, you can add a third step, which would be more of a prep-step; use a concealer to cover the perimeter of your natural lips and set with powder. This creates a blank canvas, so when you exaggerate your lip line with a liner, there are not two obvious lines competing for attention.

Another thing to keep in mind is that, unlike the '90s, we are not going for an obvious, darker brown outline with a light lip color in the middle. When you line your lips, color in the entire lip to keep uniformity, and keep your liner and lipstick shades in the same tone range to avoid the dreaded "ring around the lip" look.

Furthmore, though matte lipcolor is on trend at the moment, don't feel like you can't use a satin or gloss finish, if that's what you prefer - it's all about what works best for you and makes you feel fabulous!


You can really use any shade you like with this look, but since today's focus is on beige/nude hues, here are some great options to try for yourself, both matte and satin finishes:

Milani Lipstick in Enchanted Topaz  ($4-$6) - part of the new limited edition Bedazzled Collection, this lipstick is a matte, nude beige. It is a drier formula, so make sure to exfoliate your lips well before applying.


Maybelline Color Sensational Creamy Matte Lipstick in Daringly Nude ($5-$9) - a slightly more pink-toned medium beige shade. This is a creamier matte formula, and feels great on the lips.


New York Color Expert Last Lipstick in Creamy Caramel ($2-$3)- a sheer nude/brown shade; this is a your-lips-but-better color that looks great layered over a nude liner.


NYX Round Case Lipstick  in Thalia ($4-$5)- A simply gorgeous medium pink/nude, sort of a mauve with beige undertones, it pulls more nude when layered over a natural lip liner


L'Oreal Colour Riche Collection Exclusive Lipstick in Jennifer's Nude ($9-$10)- pinkish beige nude with mauve undertones. this looks beautiful by itself, or layered over a matte lipstick in a similar shade (like Maybelline Color Sensational Creamy Matte Lipstick in Daringly Nude) 


Clinique Different Lipstick  in Tenderheart ($16) - A mid-tone blushing nude/brown that is a more traditional '90s lip color. While fairly sheer, this lipstick can be built up or applied over a natural liner for a more opaque appearance.


The options for nude lipstick shades are endless, so experiment with a few (or a dozen!) to see what works best for your skin tone and color preferences - there is a nude lipstick out there for everyone, even if it isn't a traditional "nude".

Do you wear nude lipstick? What's your favorite brand/color? What are your thoughts on the "Kylie Jenner Lip trend"?

Thanks for reading!

~Jessica

<a href="http://www.bloglovin.com/blog/12961905/?claim=fzdqsbnqpfs">Follow my blog with Bloglovin</a>